Whether you've just purchased a new business premises, or realise the need to improve your roof safety of an existing building, it can be daunting to know what your next steps need to be. There's such a wide range of options available when it comes to installing roof safety systems, not to mention the technical elements of working out the materials required, that many people put off buying their roof safety rails.
Don't be that guy! The longer you put off your roof safety, the more you're putting your workers, contractors, and reputation at risk. Finding the best roof safety solution for you, and how to best install it, without blowing your budget, is all really easy. There are six simple steps to follow!
Step 1: Identify Roof Areas, Hazards, and Budget
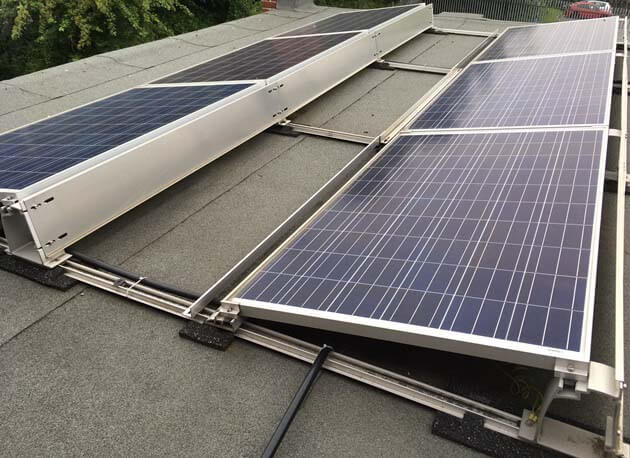
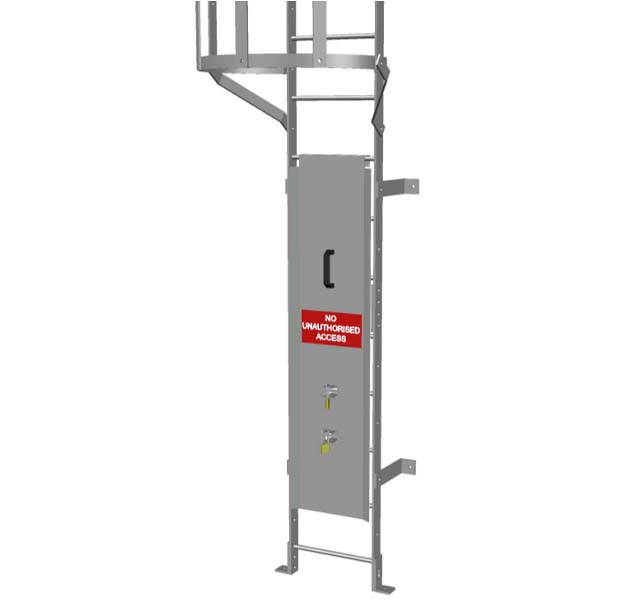
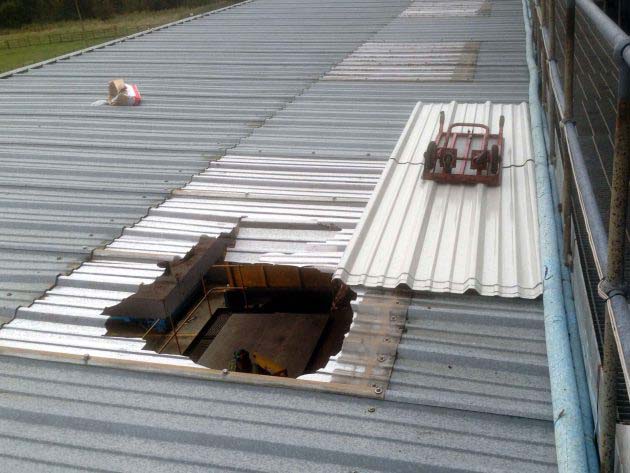
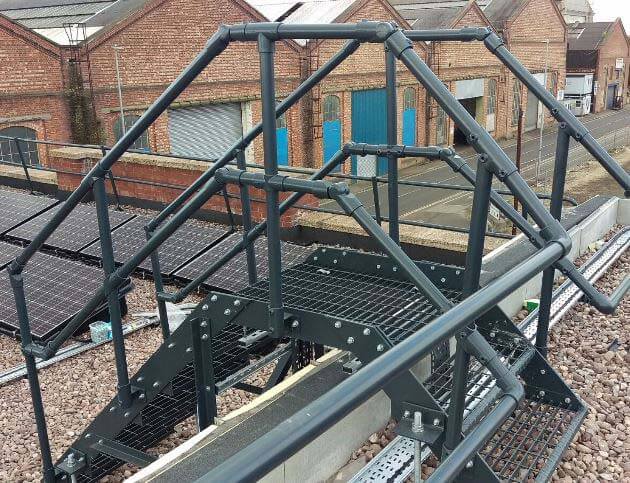
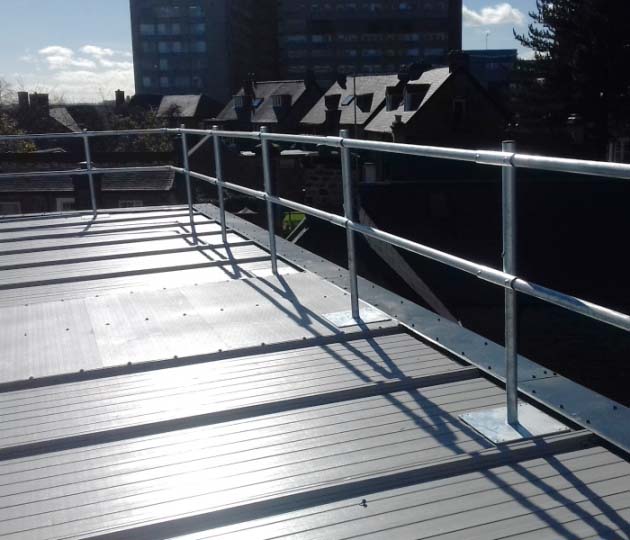
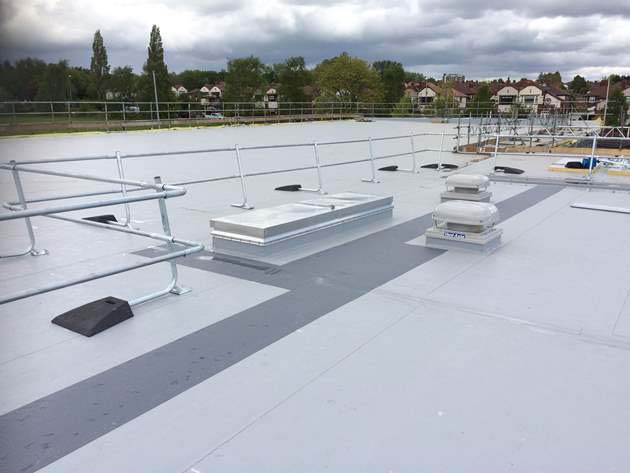
Before you do anything, it's best to assess your current rooftop status. Identify areas which may require roof safety guard rails, fragile spots protection (such as skylights), obstacles, cables, or platforms to access varied levels.
Try to create a map of the roof if at all possible, as this will help you to work out exact measurements of any materials you'll need - saving you a lot of time and money in the future!
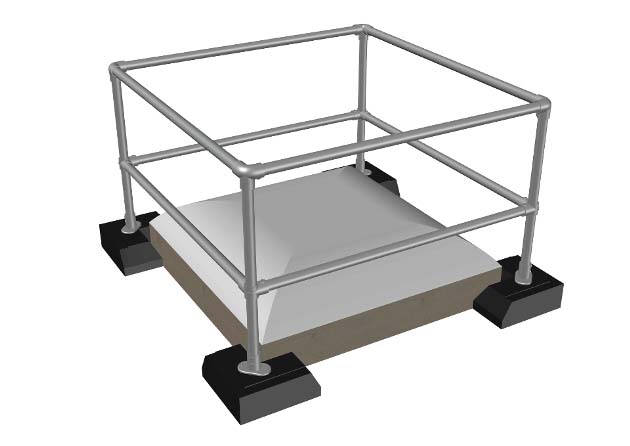
If your budget is tight, list the areas for improvement in order of priority. For example, a perimeter safety rail is likely to be more important than a fragile area - especially if you can extend the rail around the skylight to prevent access anyway. Of course, it's always best to improve your roof safety as much as possible, but we're realistic about facilities budgets and understand they're often tight. It's better to start with the important things and add others later on, than to not invest in any roof safety at all!
Step 2: Get in Touch for Professional Advice
It's OK if you don't know which bits and bobs you're going to need, or exactly how much guard rail you require. That's what the experts are for!
Get in touch with roof safety experts (that's us, by the way), who will give you an accurate assessment based on your initial roof survey that you completed in step one above. If you have any photos and/or architect's plans, now is the time to email them across, too.
Step 3: Have A CAD Design Created
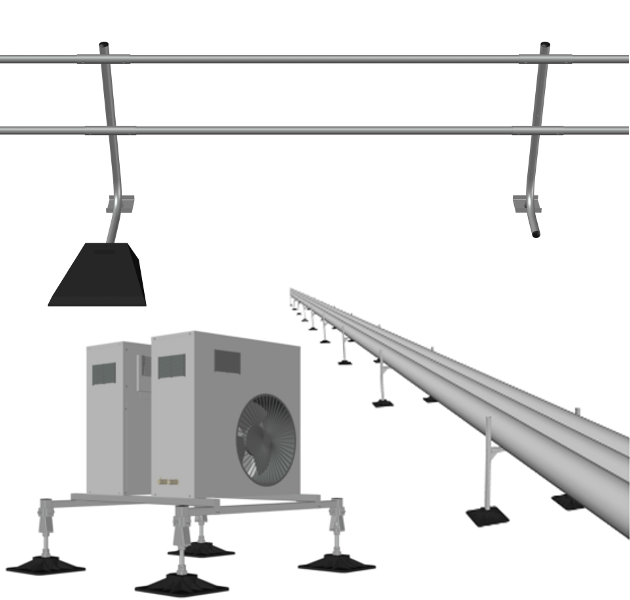
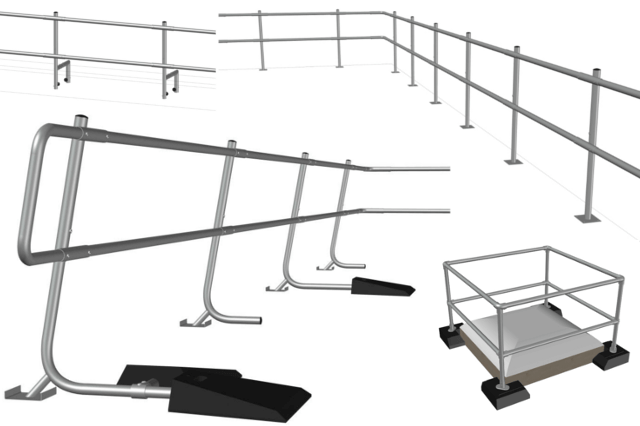
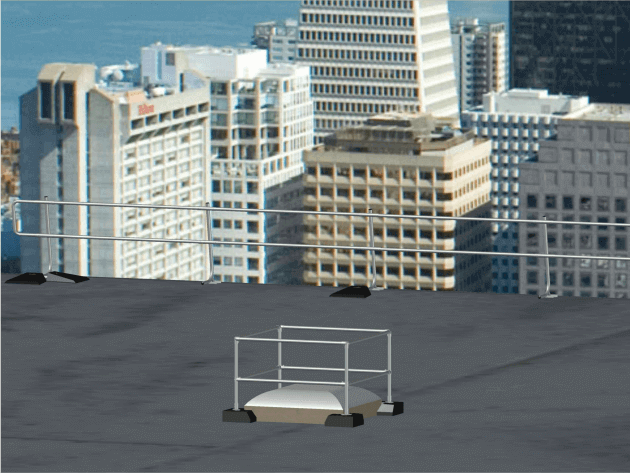
Don't worry, you don't do this bit! If you've sent your photos, plans, and requirements over to us after having a lovely chat about what you need, we then create a CAD design for you.
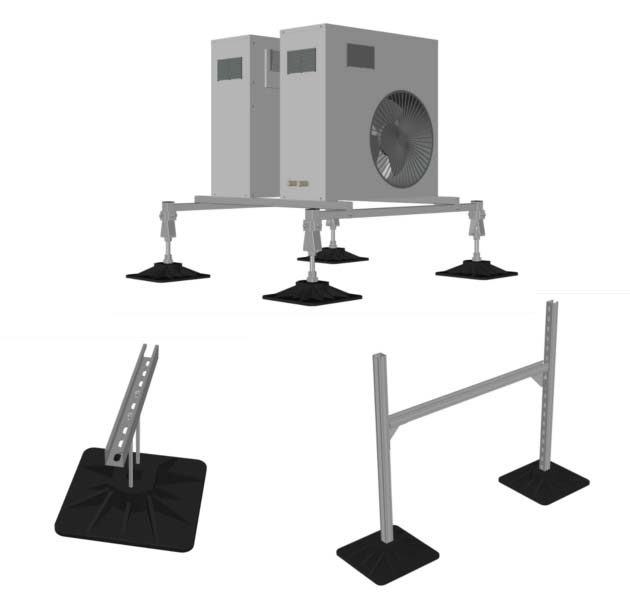
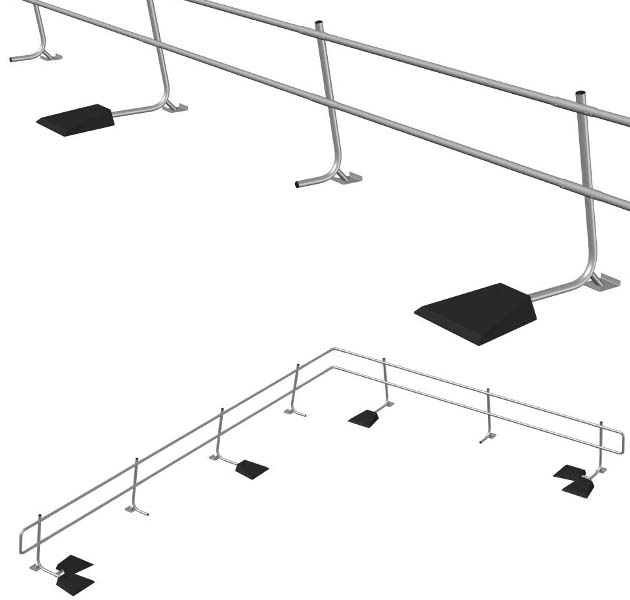
This is so that you can visualise everything that you need, and see it as a 3D rendering. It also means we can measure precisely how much you'll need of each roof safety element, to ensure you don't overspend on unnecessary materials.
Step 4: Approve Your Quote and Let the Roof Safety Experts Get To Work
When we send over your CAD design, we'll also include a quote that's carefully calculated based on the measurements you've provided and the layout or rendered model we've created. Once you're happy with it, just say so!
Then we can get to work with getting your order ready for shipment. If you want stock items and approve by 11am, they'll be delivered the next working day; custom items take 7-10 days and we'll advise you of the delivery time when you place the order.
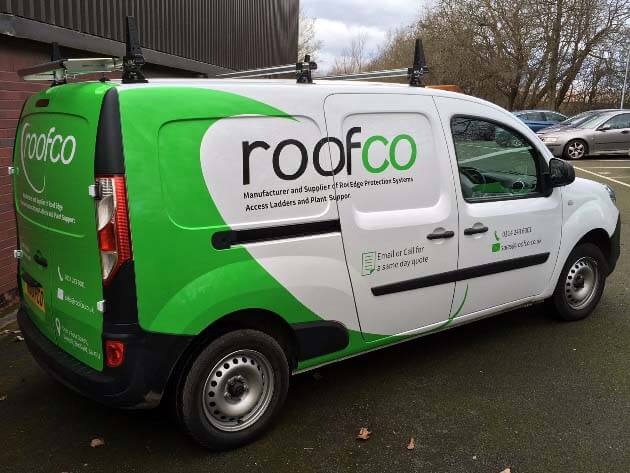
Step 5: Await Your Next Day Delivery at Any Address
We deliver to 99% of the UK Mainland, thanks to our delivery partners at the Palletways Network. Even better, we can even include as standard a pre-10am delivery, to make sure you're not waiting around to get started on making your rooftop as safe as possible.
Step 6: Tell Us about Your Experience and Get Free Marketing
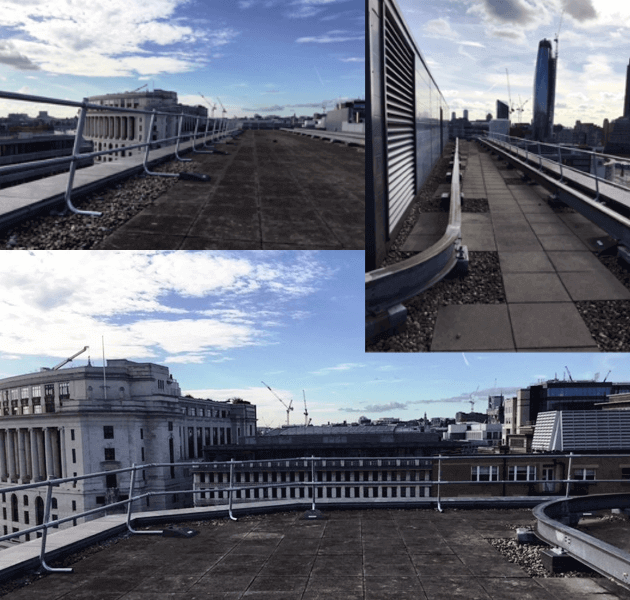
That's right! If you're happy with your experience, tell us! We like to feature our customers on our blog, so be sure to send us some before-and-after pictures, with a few sentences about your roof safety project. If we feature you, we'll be sure to let you know so you can spread the word about your new-found fame!